
Woodworking is a practical skill you can learn one small project at a time. You don’t need a huge shop, a truckload of tools, or a perfect first cut to begin.
The early worries are normal. Maybe you’re unsure which wood to buy. Maybe you think one wrong measurement will ruin everything. Woodworking Basics are less about getting every detail right and more about learning how to stop, check your work, and fix what you can.
Start with safe habits and simple projects. The confidence comes after you make a few cuts, sand a few rough edges, and see a useful object take shape.
Key Takeaways
- Accuracy, patience, and safe habits matter more than expensive equipment.
- Straight boards, sharp blades, and solid clamps prevent many beginner problems.
- Measure from one reference edge, mark the waste side, and test cuts on scrap.
- Start with a useful project that fits your current tools and weekend schedule.
- A mistake is often one replaceable board, not a failed project.
Woodworking Basics You Need Before Your First Project
Woodworking means shaping wood into something useful with measured cuts, holes, joints, sanding, and finish. A shelf, planter box, bench, or serving tray may look different, but the basic process is often the same.
You measure and mark. You cut the parts. Then you drill, join, sand, and finish them. That sounds like a lot at first. It gets manageable when you handle one step at a time.
Accuracy matters, but expensive equipment isn’t the answer to every problem. A sharp pencil line, a square that is truly square, and the patience to test-fit a joint will take you far. A fancy saw can’t rescue a rushed layout line.
Wood also has a personality. Its grain affects how it cuts, sands, and accepts stain. Solid boards can expand and contract across the grain as humidity changes. Sheet goods are more stable, but their edges often need trim or edge banding.
Here is a simple way to think about common materials:
| Material | Good beginner use | Watch for |
| Pine | Shelves, boxes, painted projects | Knots, dents, blotchy stain |
| Cedar | Outdoor planters and simple outdoor pieces | Soft surface, more costly boards |
| Poplar | Painted furniture parts | Soft edges, color variation |
| Oak or maple | Durable furniture and clear finishes | Harder cutting, higher cost |
| Plywood | Cabinets, shelves, shop projects | Veneer tear-out and rough edges |
| MDF | Painted indoor projects | Heavy dust, poor moisture resistance |
For your first builds, choose boards that are straight and stable. Skip cracked pieces, severe knots, and boards shaped like a propeller. You can learn a lot from imperfect lumber, but you don’t need to make your first project harder than it already is.
How to Choose Beginner-Friendly Wood
At the lumber rack, sight down the length of each board like you’re looking down a rifle barrel. Check for bowing, cupping, twisting, and crooked edges. Set a board on the floor or a flat rack when possible. If it rocks, leave it behind.
Pine is affordable and easy to cut, so it’s a good place to start. Poplar is smoother and paints well. Plywood is useful when you need wide, stable panels. Hardwoods such as oak and maple are beautiful, but they ask more of your blades, budget, and patience.
Remember that lumber labels can fool you. A board sold as a 1-by-4 is usually about 3/4 inch thick and 3 1/2 inches wide after milling. Build your cut list around the board’s actual size, not the name stamped on the bin.
Store lumber flat and supported so it doesn’t sag. Let it sit in your shop for a few days before cutting when you can. Wood that adjusts to the room is less likely to surprise you halfway through a build.
Set Up a Safe and Simple Workspace
You need a sturdy work surface, bright lighting, a place for tools, and room to move long boards without bumping into walls or doors. A garage corner, basement, or covered patio can work well when you keep it organized.
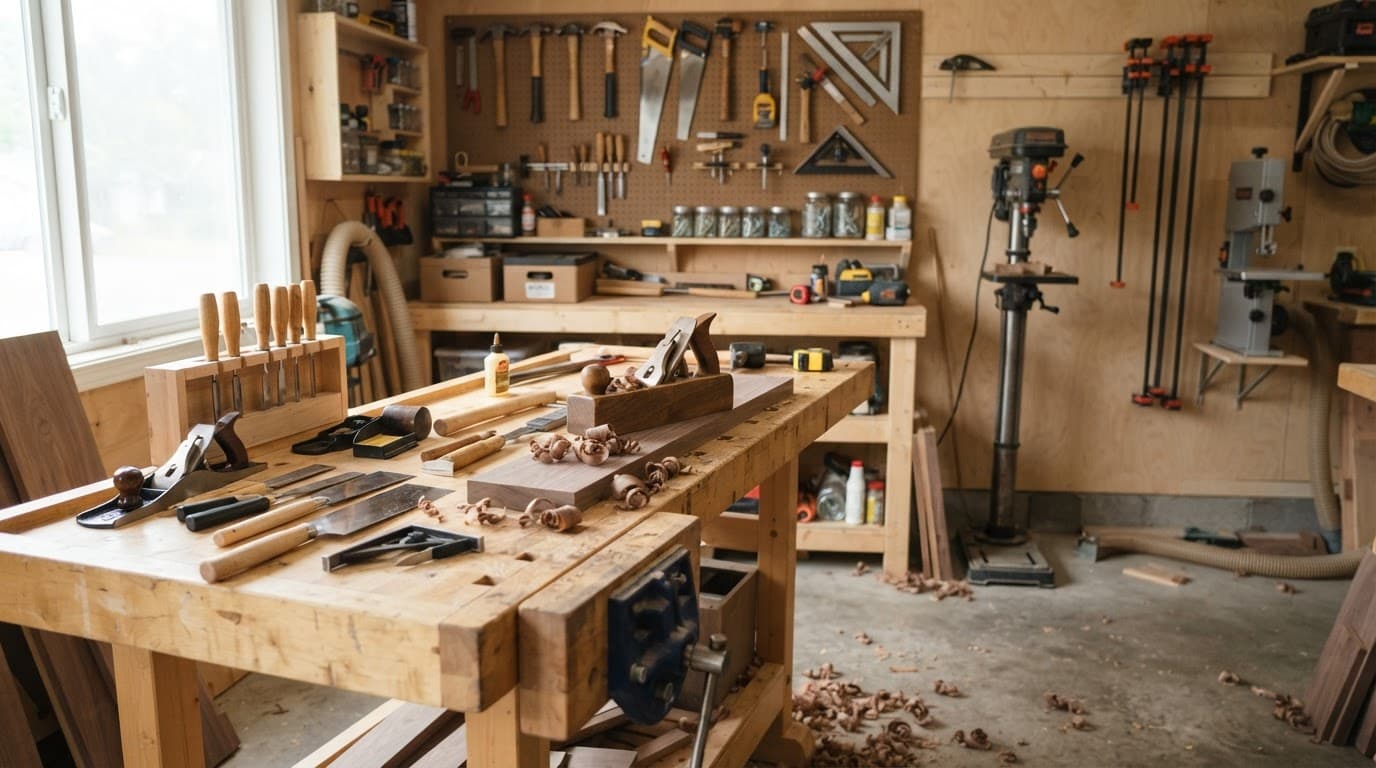 Wear safety glasses and closed-toe shoes. Add hearing protection for loud tools. Use a dust mask or respirator rated for the dust and finish products you’re using, especially when sanding MDF or spraying finishes.
Clamp the workpiece before cutting or drilling. Keep cords behind you and out of the blade path. Unplug a tool before changing a blade or bit. Never rush a cut because dinner is almost ready.
Fine wood dust can hang in the air and settle everywhere. A shop vacuum at the tool, a clean workspace, and fresh air make a real difference. Review this woodworking safety guide before you begin using powered equipment.
A board that moves during a cut is not a small annoyance. It can pull the tool off line and turn a simple job into an unsafe one.
The Essential Woodworking Tools for Getting Started
Buy tools for the project in front of you, not for a dream shop. A small set of accurate, well-kept tools beats a crowded wall of tools you don’t know how to use.
Start with a tape measure, sharp pencil or marking knife, combination square, straightedge, clamps, handsaw, drill or driver, and sandpaper. A circular saw and random orbital sander are useful upgrades when you build more often. You can find a practical list of essential beginner tools if you’re deciding what to buy first.
Hand Tools That Teach You Accuracy
A tape measure gives you the number, but a combination square helps you put that number in the right place. Use it to mark square crosscuts, check edges, and confirm a corner is 90 degrees.
A handsaw teaches control. A block plane can shave off a tiny amount when a part is slightly too long. Chisels clean corners and help fit simple joints. Screwdrivers still matter because they give you more feel than a driver when hardware gets close to tight.
Keep cutting edges sharp and tools dry. Check your square by drawing a line, flipping it over, and drawing a second line from the same point. If the lines spread apart, the square needs adjustment or replacement.
Power Tools Worth Adding Over Time
A drill or driver is often the first power tool worth owning. It drills pilot holes, drives screws, and handles many simple builds. A circular saw makes straight cuts when paired with a straightedge guide. Don’t expect it to cut perfectly straight freehand.
A jigsaw is for curves and cutouts, not long precision rips. A random orbital sander saves time, but it can also round edges fast if you press too hard. A router is useful later for round-overs, rabbets, and edge profiles.
Corded tools usually offer steady power for less money. Cordless tools are easier to carry and use away from an outlet. Either choice works when you use the right blade or bit, read the manual, and practice on scrap first.
Why Clamps, Blades, and Measuring Tools Matter
Clamps hold parts still during cuts, drilling, and glue-ups. They are extra hands that don’t get tired or wander into danger.
Dull blades cause rough cuts, burn marks, tear-out, and more forceful handling. Before you use a tool, check four things:
- The blade or bit is sharp and undamaged.
- The tool is set for the cut you need.
- The guard and cord are in good shape.
- The workpiece is supported and secured.
Spend your money on accurate layout tools, decent clamps, and sharp accessories before chasing brand names.
Learn the Core Woodworking Techniques Step by Step
Most small projects follow one calm, repeatable order. Read the plan. Make a cut list. Mark boards. Cut and test-fit. Join the parts. Sand. Finish.
Choose one face and one edge of each board as your references. Mark them lightly. Take measurements from those same references instead of switching sides. Small differences add up, especially on a box or shelf where corners need to meet.
Measure, Mark, and Cut Without Wasting Wood
“Measure twice, cut once” is good advice, but it isn’t magic. You still need to confirm that the tape hook is accurate, the board is straight, and the cut line is on the correct side.
Make a cut list with each part’s length, width, thickness, and quantity. Mark the waste side of every line. For repeated parts, use a stop block instead of measuring each one again. Cut one test piece first, then check its fit before cutting the rest.
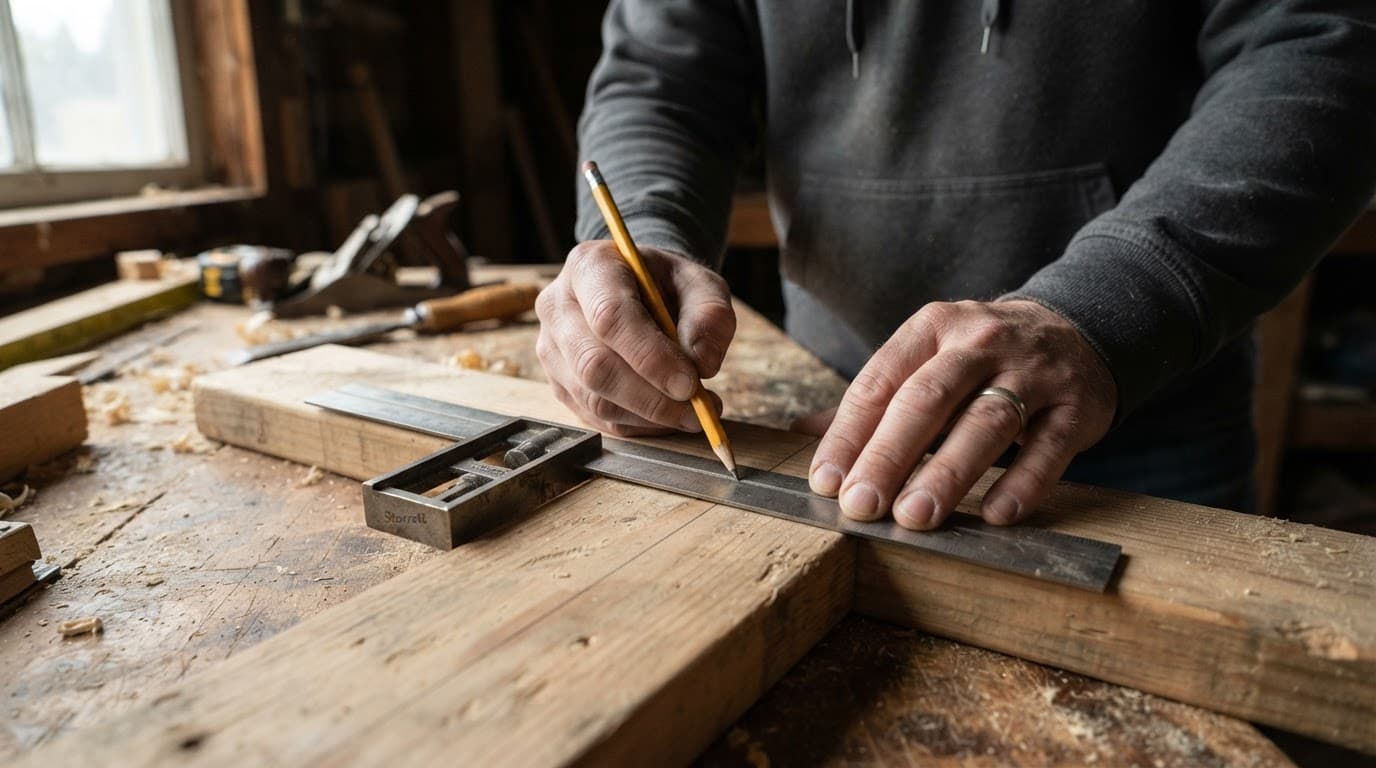 Crosscuts go across the grain. Rip cuts run with the grain. When accuracy matters, cut slightly proud of the line and trim or sand to the final mark. It feels slower, but it saves material when the first cut is not perfect.
Drill Clean Holes and Build Strong Joints
Drill pilot holes before driving screws near board ends. They reduce splitting and make it easier to keep the screw straight. Countersink when you want the screw head below the surface for a plug or wood filler.
Butt joints are simple, especially with glue and screws. Pocket holes hide screws on the inside of many projects. Dowels add alignment and strength, but their holes must line up. Rabbets create a shoulder that helps a shelf or box back sit square.
Glue needs clean, close-fitting wood surfaces. Use enough clamp pressure to close the joint, not so much that every drop of glue squeezes out. End grain drinks up glue, so it usually needs screws, dowels, or another form of reinforcement.
Sand and Finish for a Smooth, Durable Result
Start around 80 or 100 grit only when the surface needs real leveling. Move through 120, 150, and 180 grit for most projects. Sand with the grain on the final passes. Wipe away dust between grits.
Use a sanding block on flat edges so you don’t create dips or round corners by accident. Test your finish on an offcut first, especially with pine.
Wipe-on oil is easy and brings out grain. Water-based polyurethane dries faster and stays clear. Oil-based polyurethane adds warmth but takes longer to dry. Shellac dries quickly, while paint can hide mismatched wood and patches.
Apply thin coats, let each coat dry as directed, and provide ventilation. Oily rags can heat up as they dry, so follow the product’s disposal instructions. Don’t toss them in a loose pile.
Choose a First Woodworking Project You Can Actually Finish
Your first project should teach you a few skills without asking you to learn everything at once. A simple shelf, planter box, step stool, serving tray, small bench, or wall-mounted tool rack is a better start than a dining table.
Choose something useful enough that you’ll enjoy seeing it every day. A weekend finish matters. A half-built project that sits in the corner for six months can drain the fun fast.
Start With a Project That Teaches More Than One Skill
Look for a build with straight cuts, drilling, sanding, and a basic glue-and-screw joint. Avoid compound angles, thin delicate pieces, giant panels, and plans that require several specialty tools.
Practice the difficult part on scrap first. That one habit can save your project lumber for the work that counts.
Plan the Cut List, Budget, and Build Order
List every part before you shop. Write the finished length, width, thickness, and quantity. Buy a little extra material for mistakes, but don’t double your lumber purchase out of fear.
Remember the overlooked costs: screws, glue, sandpaper, finish, blades, clamps, and safety gear. Cut large parts first, label them, and dry-assemble the entire project before glue enters the picture.
If a board warps, a measurement looks unclear, or a test fit leaves a large gap, pause. Replace one bad part or change the plan. Forcing damaged pieces together rarely gets better later.
Avoid the Beginner Mistakes That Ruin Good Projects
Skipping glasses, cutting an unsecured board, and trusting a rough factory edge can create trouble before assembly begins. Square up your references, test one part first, and don’t cut every board before you know the first piece fits.
Too much glue makes a mess and can block stain. Wipe squeeze-out while it is still manageable. Sanding too hard in one spot makes dips that finish will highlight, not hide.
Solid wood moves across its grain as seasons change. On larger panels, allow room for movement with screws in slots or hardware designed to let the panel shift. Don’t trap a wide solid-wood tabletop in a rigid frame.
Before you call the project done, check the corners, joints, screw heads, sharp edges, and finish. A small gap may accept a matching sliver of wood. A badly cut or split structural part should be remade.
Final Thoughts
The heart of Woodworking Basics is simple: work safely, measure with care, and build projects that match the skills you have today.
Your first shelf might have a small patch or an edge you wish were cleaner. That’s okay. Each project leaves you with something useful, plus a clearer idea of what to do differently on the next one.
BÀI VIẾT MỚI NHẤT
Chính Chủ Bán Nhà Thổ Cư Xã Vĩnh Hòa , Hải Phòng – 0782221111
🔥 BẤT ĐỘNG SẢN XÃ VĨNH HÒA – TP HẢI PHÒNG: ĐIỂM SÁNG PHÍA NAM ...
Woodworking Basics: Build Skills One Small Project at a Time
Woodworking is a practical skill you can learn one small project at a time. You ...
Đặt Tiệc Trọn Gói Tại Nhà – Lựa Chọn Thông Minh Cho Những Dịp Đặc Biệt
Đặt Tiệc Trọn Gói Tại Nhà – Lựa Chọn Thông Minh Cho Những Dịp Đặc ...
Đặt Tiệc Trọn Gói Tại Nhà – Lựa Chọn Thông Minh Cho Những Dịp Đặc Biệt
Đặt Tiệc Trọn Gói Tại Nhà – Lựa Chọn Thông Minh Cho Những Dịp Đặc ...